
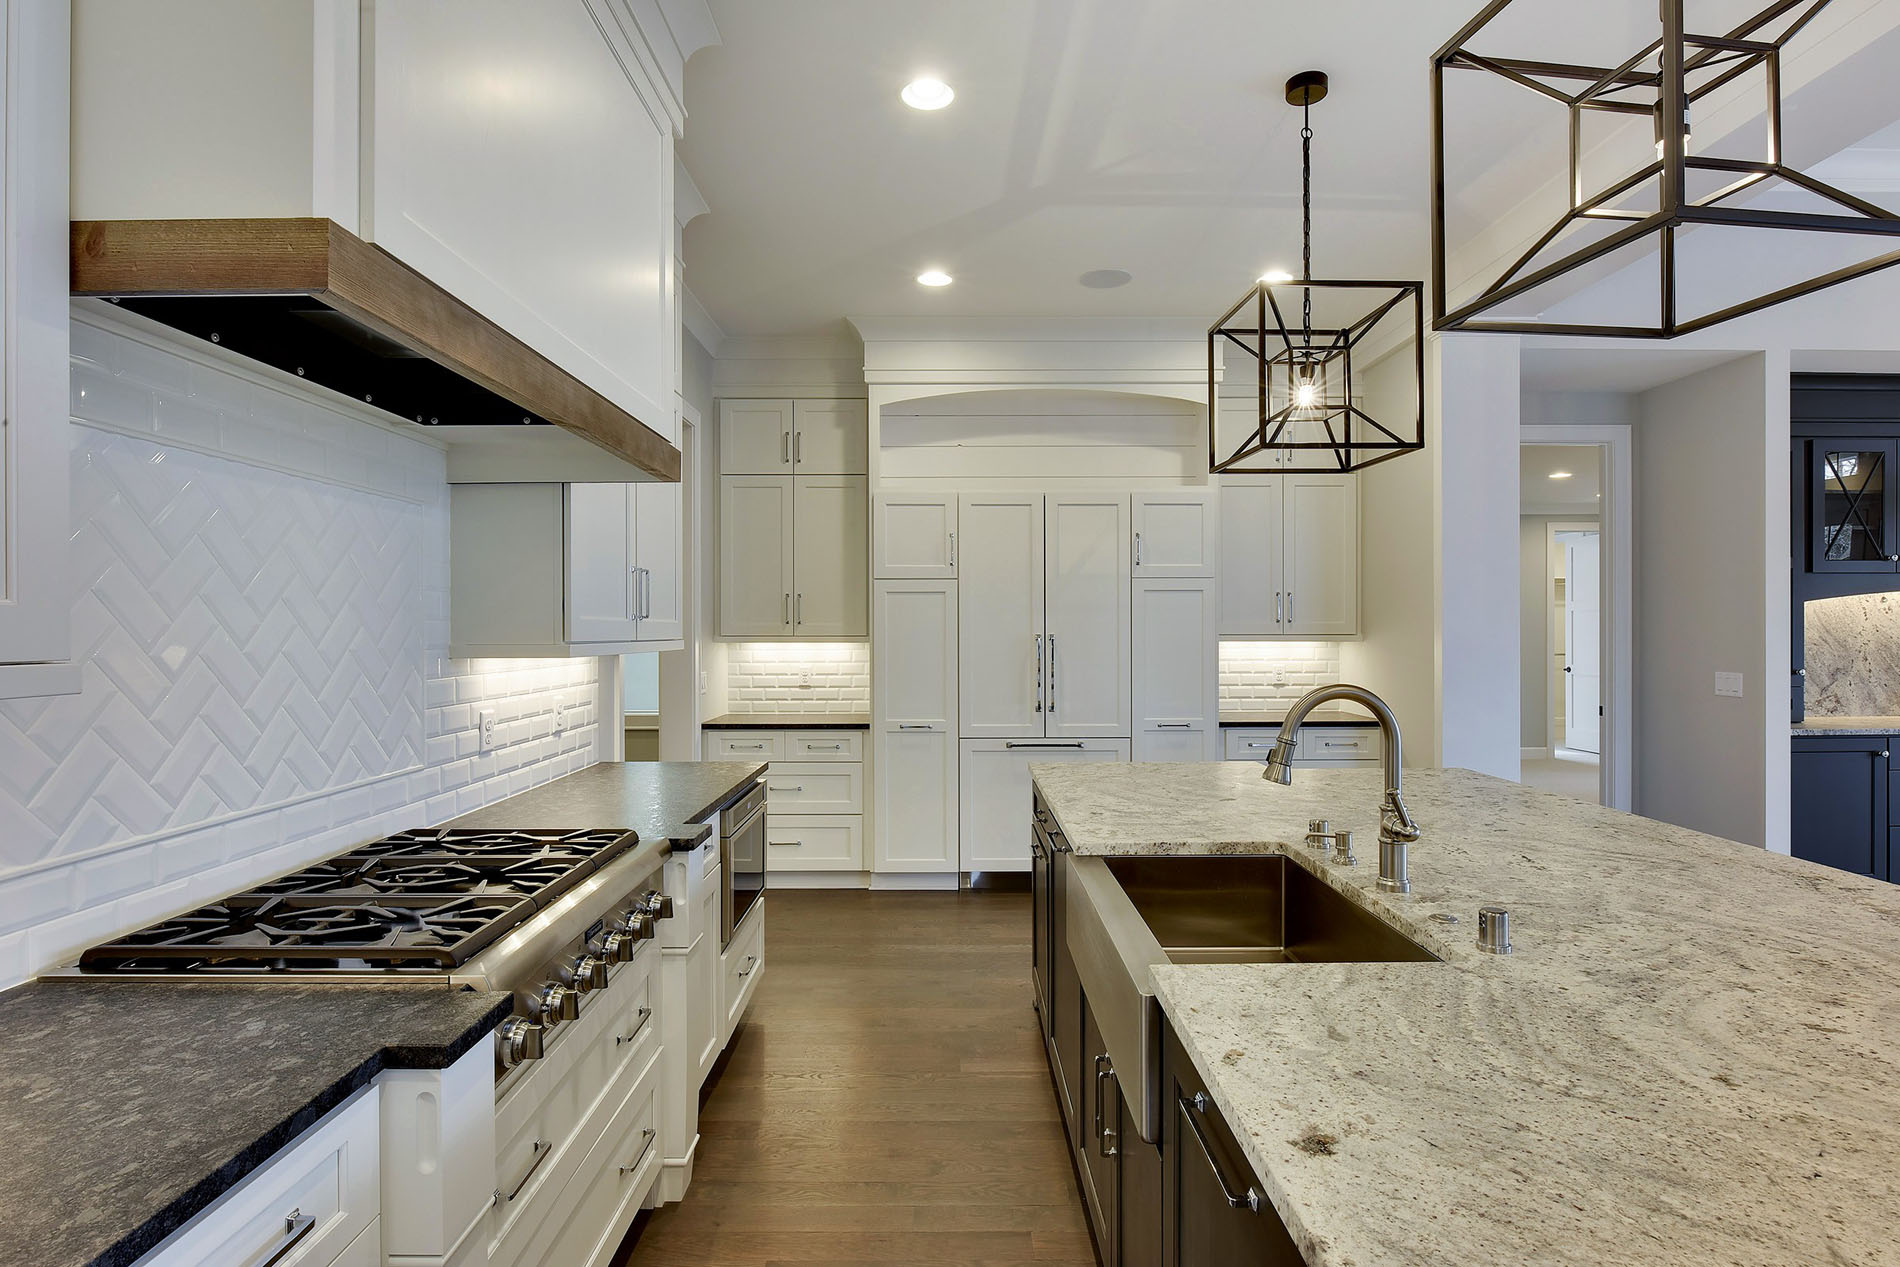
Slabs have a maximum size; kitchens don't. Here's how we plan seams so you stop noticing them — including vein matching, layout approval, and the island rule.
The first question at almost every template appointment: “Will there be a seam?” Fair question — a bad seam is the most visible mistake in the trade. But seams themselves aren't a defect; they're geometry. Slabs top out around 130” long and 65” deep, and kitchens turn corners. What separates a great job from a regrettable one is where the seam goes and how it's built.
Where we put them (and where we won't)
- At low-visibility break lines — over a dishwasher, at an inside corner's quiet side, behind a faucet line — not in the middle of your main run.
- Away from sink and cooktop cutouts whenever the layout allows. A seam beside a cutout stacks two stress points; good planning separates them.
- Never mid-focal-point. The island face everyone sees from the family room is not where a seam belongs.
- Islands are planned seamless whenever the slab size allows — that's the piece guests actually look at.
What a good seam looks like
Tight — around a sixteenth of an inch. Flat — the two pieces planed level so your hand doesn't catch. And color-matched — the joint filled with epoxy pigmented to the stone so the line reads as a pencil stroke, not a stripe. On patterned material, a good seam also respects the movement: we lay out pieces so veins flow across the joint instead of slamming into each other.

The takeaway
Ask any shop bidding your job two questions: “Where will my seams be?” and “Can I see the layout on my slabs before you cut?” If the answers are vague, keep shopping. We put seam placement on the drawing at quote time — it's part of the design, not a surprise at install.